I’ve marvelled before on this site about Printcraft as an introduction to three-dimensional design for children. In case you are not aware of Printcraft, it uses code to export models made in the popular video game Minecraft into printable STL files.
The Printcraft creator, Paul Harter wrote the code after trying to get his children to use purportedly child friendly modelling software like Tinkercad or the 123D software. They quickly got bored and returned to Minecraft to join the 33 million others on the sandbox survival game.
After watching the kids play the game Paul realised what they were doing was essentially gamified 3D modelling. Being the whizz that Paul is, he wrote some Javascript and was able to pull models out of the game to print. Since then Paul has launched a new website and the popular, free service is thriving thanks to his dedication.
When a friend told me that their 11-year-old son was really into Minecraft I asked if they’d like to take part in Thingi Thursday. With absolutely no training, just a link to the Printcraft site, the very next day I was sent a file to download and attempt to print, showing just how easy this system is.
When I opened the file I realised I’d not quite explained 3D printing well enough because the model contained a perfectly printable house and multi-coloured cube. Seeing as I was planning on printing the model on the John Burn supplied UP! Plus in white ABS it would seem pointless to print the block ,so I pondered if it was possible to split the STL file in two.
Not as easy as one might think, still being a relative amateur in the 3D printing land I presumed this would be as easy as just selecting the part and removing it on SketchUp or Tinkercad. Nope. Again, with a little help from search engines I found that netfabb is capable of cutting STL files even with the basic package.
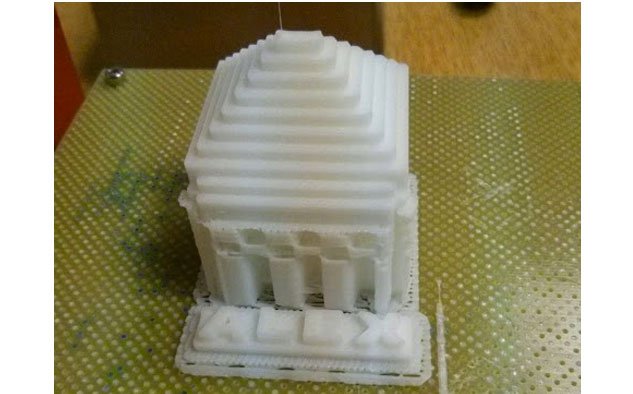
After cutting the file and running the repairs on netfabb it was time to print, looking at the model I knew it was going to be filled with difficult to remove support, nevertheless it printed in an hour and fifteen minutes.
From the top down the model-looked great but (there’s always a but), as suspected, the support material looked a right old mess. Support material is the bane of ABS single extrusion 3D printing, if a model needs support material you can pretty much guarantee it will look a bit ropey.
I’ve recently had the name Wreck it Ralph attached to me at home because my heavy handedness breaks nigh on every door handle, cupboard, draw, glass, plate… it touches. These oafish tendencies make the rather delicate removal of support material a tough job, low and behold the pillar on the model had snapped off before I’d barely started, and seeing as there was lots of support on the inside I decided to try again.
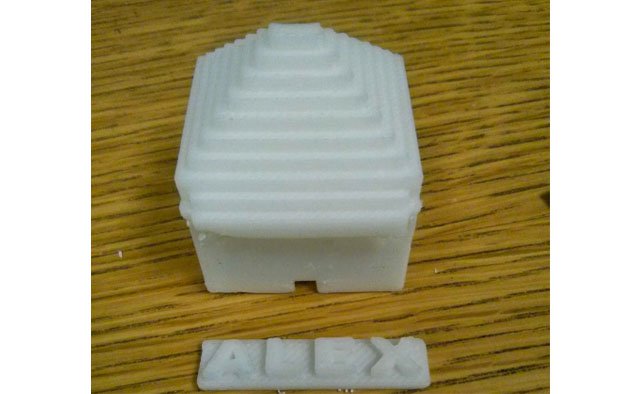
The only solution it seemed to me to print this model, without some advanced 3D modelling skills, was to scale it up and hope that the bigger pillars would be better attached to the front of the model.
The bigger version proved much better for my ‘Lenny from Of Mice and Men’ hands, the support came off relatively easily at first but the pillars were still not properly attached to the front of the house and thus came off again. That being said the model still looks great without the pillars and the kid was amazed that his digital creation could be printed off into a physical object that he could have in his hands and show his mates.
Now that I’ve used Printcraft it not only demonstrates the brilliance of 3D printing at an entry level but exposes the foibles of the technology that is often said to be able to “print anything”. You can print anything that is designed with 3D printing in mind but not everything and anything.


